How to Service Your Own Car: A Comprehensive Guide
Taking your car to a mechanic for regular maintenance can quickly drain your wallet. Luckily, many car servicing tasks are surprisingly straightforward and can be tackled by the average car owner, even with limited mechanical experience. This guide will walk you through the basics of how to service your own car, providing valuable tips and step-by-step instructions to help you save money and gain a deeper understanding of your vehicle.
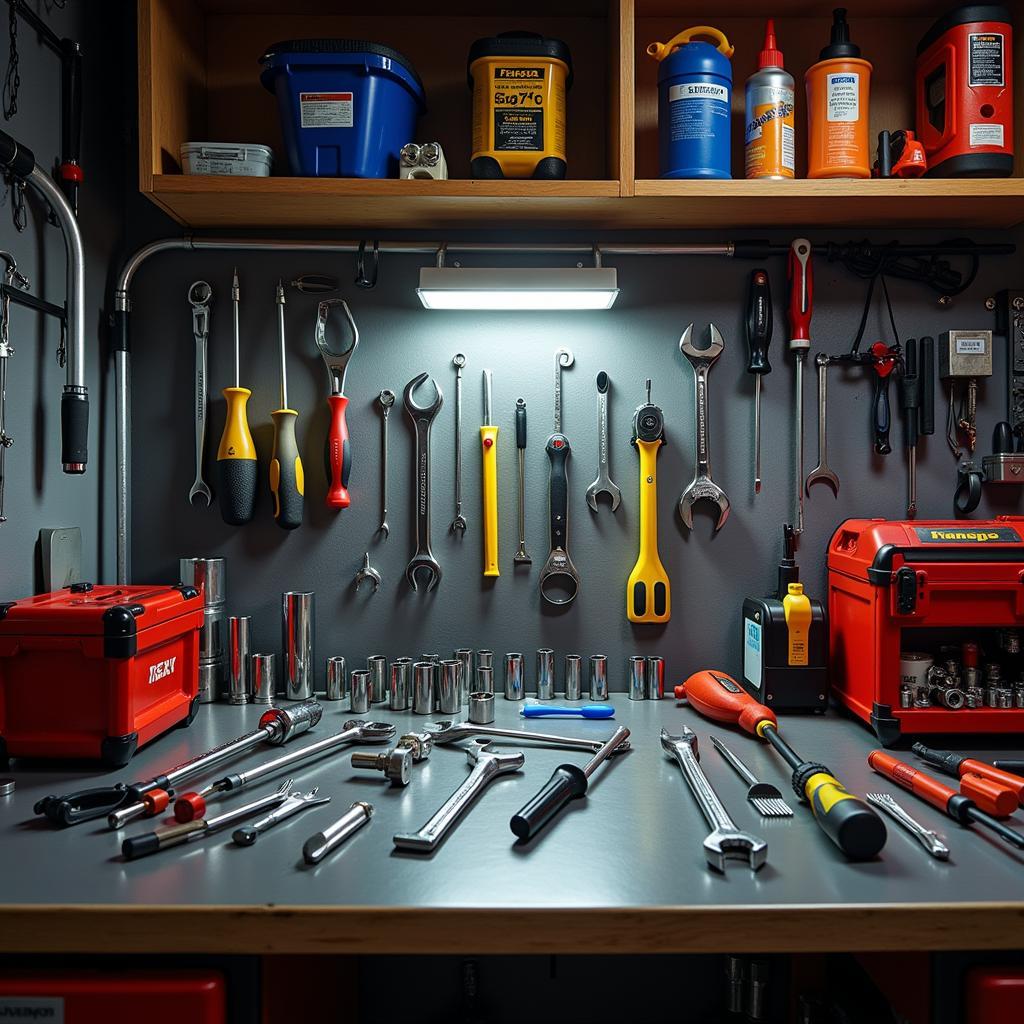
 Car service tools neatly organized in a home garage
Getting Started: Essential Tools and Safety Precautions
Before diving into the nuts and bolts (literally!), it’s crucial to gather the necessary tools and prioritize safety:
Essential Tools:
- Socket set and wrench set: For loosening and tightening nuts and bolts of various sizes.
- Screwdrivers (Phillips and flathead): For removing screws and accessing various components.
- Oil filter wrench: Specifically designed to remove the oil filter.
- Funnel: To prevent spills when adding new fluids.
- Jack and jack stands: To safely lift your car and provide stable support.
- Wheel chocks: To secure your car and prevent it from rolling while lifted.
- Gloves and safety glasses: To protect your hands and eyes from dirt, debris, and potentially harmful fluids.
Safety First:
- Always work in a well-ventilated area.
- Wear appropriate safety gear.
- Consult your car’s owner’s manual for specific instructions and torque specifications.
- Never work under a car supported only by a jack. Always use jack stands for safety.
- Dispose of used fluids (oil, coolant) responsibly.
Basic Car Servicing Tasks You Can Do at Home
With the right tools and a cautious approach, you can perform a number of essential car service tasks in your own garage:
1. Changing the Engine Oil and Oil Filter
Regular oil changes are vital to keeping your engine running smoothly.
Steps:
- Gather materials: New oil (check your owner’s manual for the correct type and amount), a new oil filter, a wrench for the drain plug, an oil filter wrench, a drain pan, and a funnel.
- Warm up the engine: Drive your car for a few minutes to warm up the oil, making it thinner and easier to drain.
- Position the car and drain the old oil: Park on a level surface, engage the parking brake, and place wheel chocks behind the rear wheels. Lift the front of the car using the jack and secure it on jack stands. Place the drain pan under the oil drain plug. Using the wrench, loosen and remove the drain plug, letting the old oil drain completely.
- Replace the oil filter: Locate the oil filter. Using the oil filter wrench, loosen and remove the old filter. Apply a thin coat of new oil to the gasket of the new filter and screw it on hand-tight.
- Add new oil: Locate the oil filler cap and remove it. Using the funnel, carefully pour in the new oil, checking the dipstick regularly to avoid overfilling.
- Check for leaks: Once the new oil is added, start the engine and let it run for a few minutes. Check for leaks around the drain plug and oil filter.
- Lower the car and dispose of the oil: Carefully lower the car using the jack and dispose of the used oil at a designated recycling center.
2. Replacing the Air Filter
The air filter ensures clean air enters your engine, which is essential for optimal performance.
Steps:
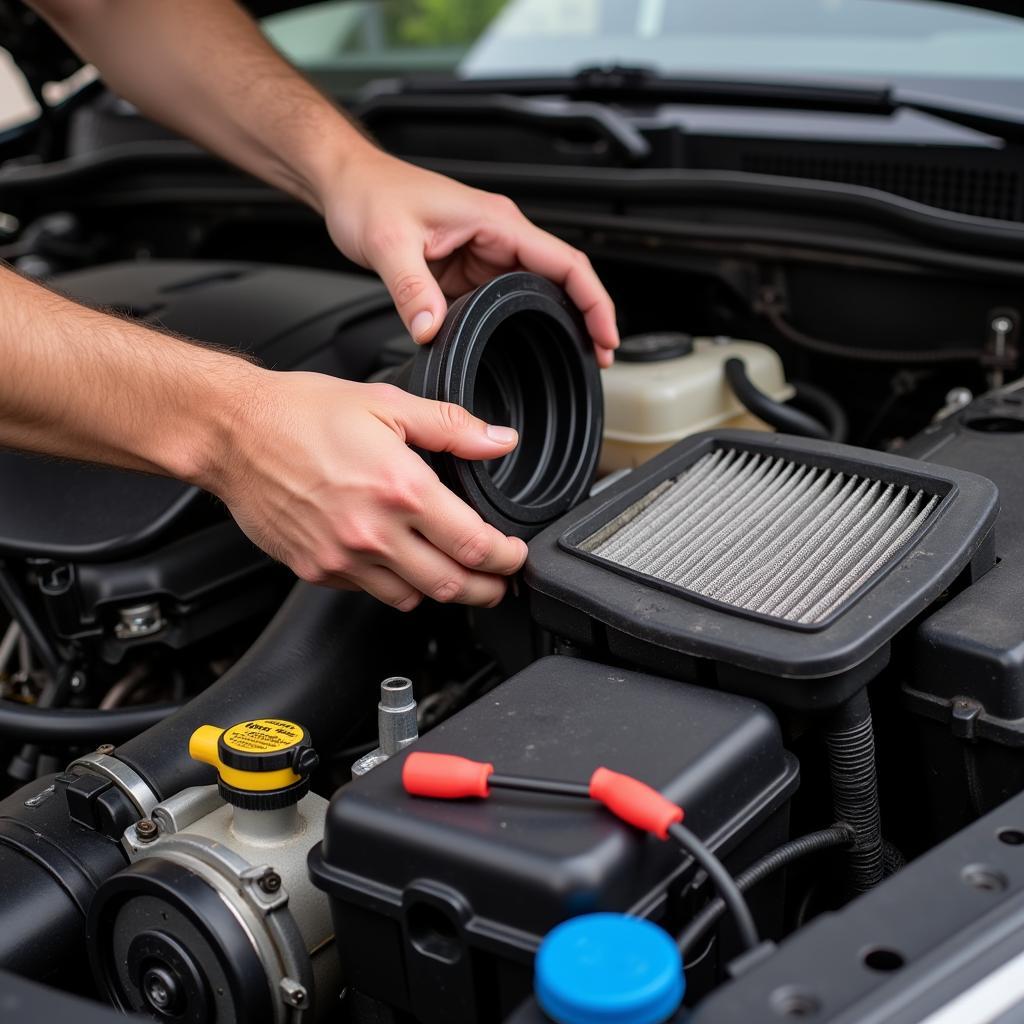
- Locate the air filter housing: Consult your owner’s manual if needed. It’s usually a rectangular box with clips or screws.
- Open the housing: Release the clips or unscrew the screws to open the air filter housing.
- Remove and inspect the old filter: Carefully remove the old air filter, noting its position for installing the new one. If it’s excessively dirty or clogged, it’s time for a replacement.
- Install the new air filter: Position the new air filter in the same way as the old one.
- Close and secure the housing: Close the air filter housing and secure it with the clips or screws.
 Replacing the air filter in a car engine
3. Checking and Topping Up Fluids
Maintaining proper fluid levels is crucial for your car’s health.
Steps:
- Check engine coolant: Locate the coolant reservoir. It’s usually a translucent plastic tank. The coolant level should be between the “Min” and “Max” marks. If it’s low, add a 50/50 mixture of coolant and distilled water.
- Check brake fluid: Locate the brake fluid reservoir. It’s usually a small, clear plastic reservoir with a black cap. The fluid level should be close to the “Max” mark. If it’s low, add the correct type of brake fluid as specified in your owner’s manual.
- Check power steering fluid: Consult your owner’s manual for the location of the power steering fluid reservoir. The fluid level should be between the “Min” and “Max” marks. If low, add the recommended power steering fluid.
- Check windshield washer fluid: This reservoir is usually clearly labeled. Top it up with washer fluid as needed.
“Regularly checking and maintaining your car’s fluids is one of the simplest yet most effective ways to prevent costly repairs down the road,” says John Smith, Senior Automotive Technician at ABC Auto Repair.
4. Inspecting and Inflating Tires
Proper tire pressure ensures safe handling, fuel efficiency, and tire longevity.
Steps:
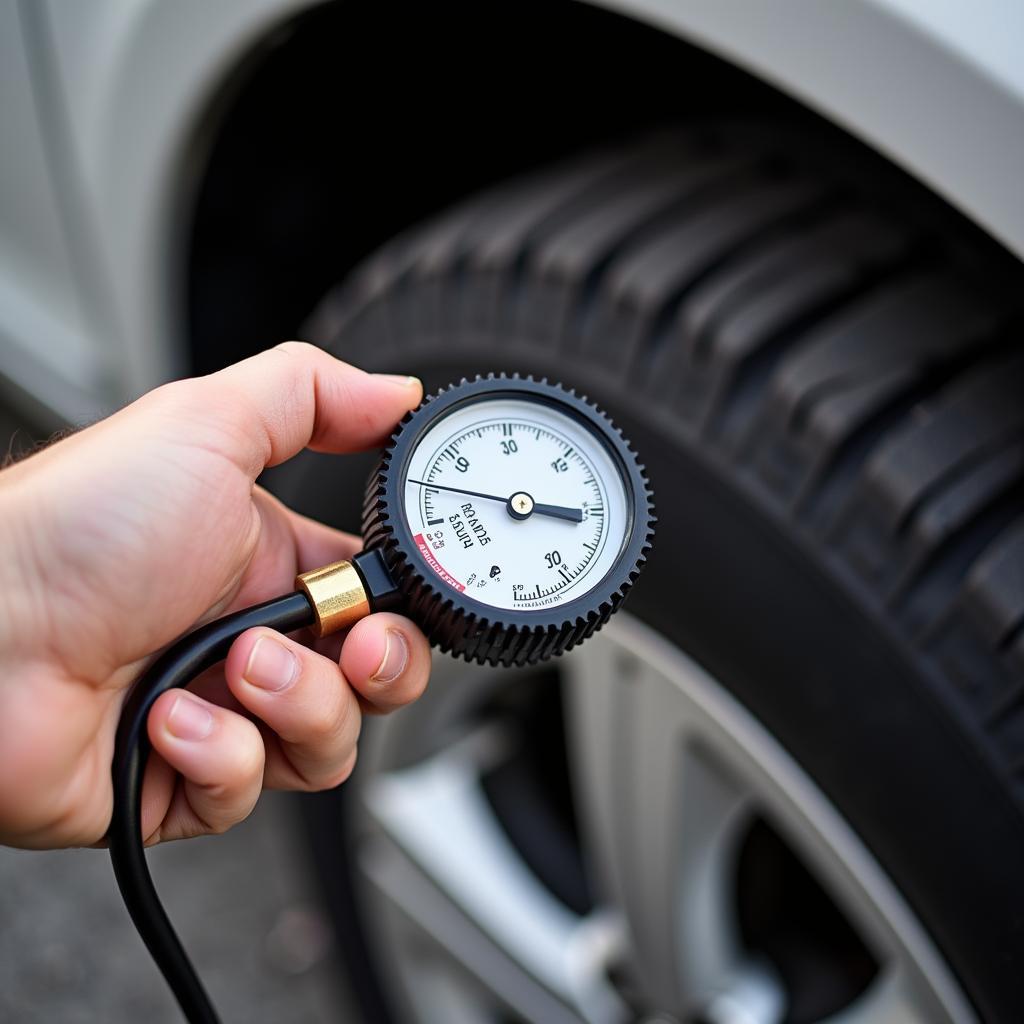
- Check tire pressure: Use a tire pressure gauge to check the pressure of all tires, including the spare tire. The recommended pressure is typically listed on a sticker inside the driver’s side door jamb or in your owner’s manual.
- Inflate or deflate tires as needed: Use an air compressor to inflate tires that are below the recommended pressure. If a tire is overinflated, use the gauge to release air until it reaches the correct pressure.
 Using a pressure gauge to check car tire pressure
Conclusion
Learning how to service your own car empowers you to take control of your vehicle’s maintenance, save money, and gain valuable skills. While this guide covers basic tasks, remember to consult your car’s owner’s manual for specific instructions and always err on the side of caution. For more complex repairs or if you’re unsure about a particular procedure, it’s best to consult a qualified mechanic. Regular DIY car servicing, combined with professional check-ups, can significantly extend the lifespan of your vehicle and provide peace of mind on the road.
FAQ
1. How often should I service my car?
It’s generally recommended to service your car every 6,000 miles or every six months, whichever comes first. However, refer to your car’s owner’s manual for specific service intervals.
2. Can I use any type of oil for my car?
No, using the wrong type of oil can damage your engine. Consult your owner’s manual for the recommended oil type and viscosity.
3. Is it difficult to change a car battery?
While it’s a relatively straightforward process, car batteries contain acid and can be dangerous if not handled properly. If you’re unsure, it’s best to have a professional replace it.
4. How can I tell if my brakes need replacing?
Signs of worn brakes include squealing or grinding noises when braking, a pulsating brake pedal, and a longer stopping distance.
5. What should I do if my check engine light comes on?
It’s best to have your car diagnosed by a mechanic as soon as possible to identify and address the issue.
Do you have any other car servicing questions?
We’re here to help! Contact us via WhatsApp at +1(641)206-8880 or email us at [email protected]. Our 24/7 customer support team is always happy to assist you.

