How to Service a Diesel Car Yourself: A Comprehensive Guide
Diesel cars have a reputation for being durable and fuel-efficient, making them a popular choice for many drivers. While regular servicing is crucial for maintaining their performance and longevity, taking your car to a mechanic for every minor service can become costly. Luckily, many routine diesel car service tasks can be tackled at home with a bit of know-how and the right tools. This guide will delve into the essential steps of How To Service A Diesel Car Yourself, empowering you to save money and gain a deeper understanding of your vehicle.
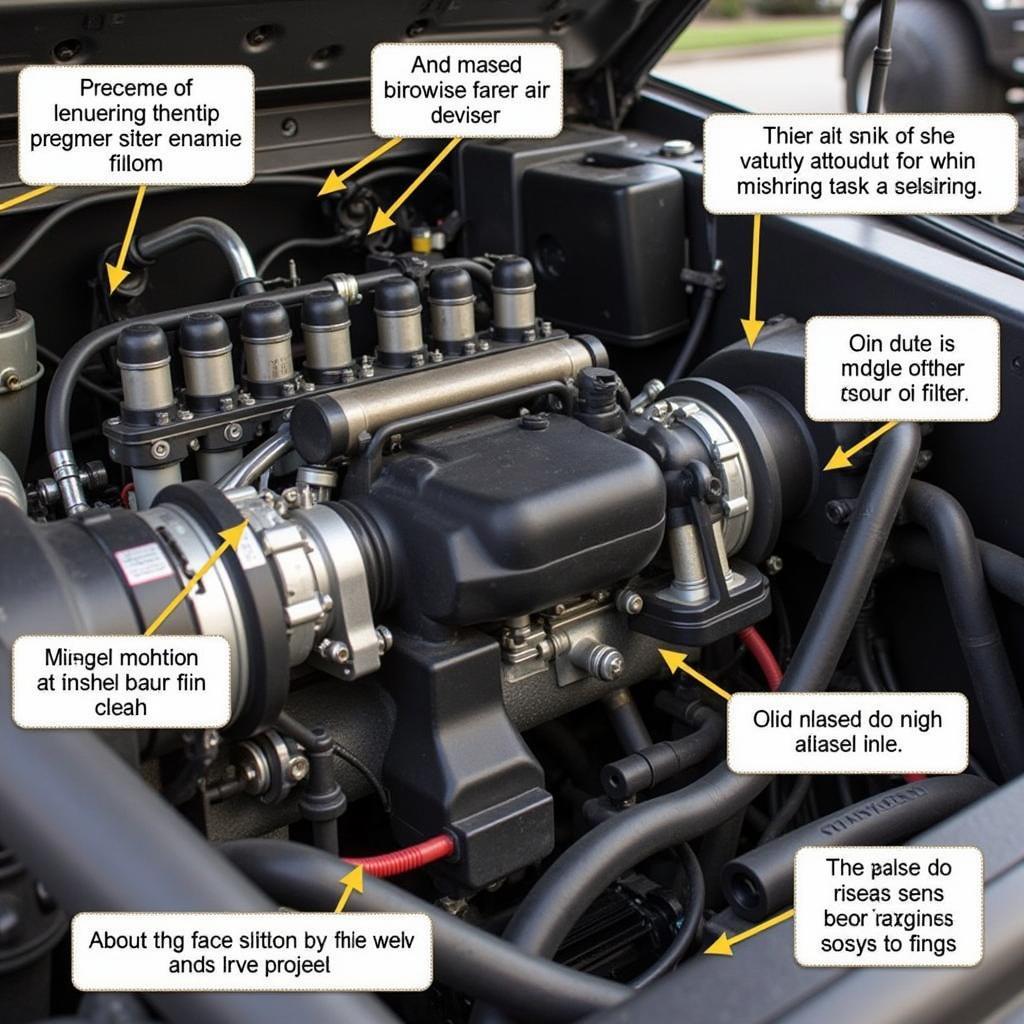
 Diesel engine components overview
Essential Tools for Servicing Your Diesel Car
Before diving into the service tasks, gathering the necessary tools is crucial for a smooth and successful DIY experience. Here’s a list of essential tools you’ll need:
- Socket wrench set: For loosening and tightening bolts of various sizes.
- Combination wrenches: For accessing bolts in tight spaces.
- Screwdrivers: Both flat-head and Phillips-head, in various sizes.
- Torque wrench: To ensure bolts are tightened to the correct specifications.
- Oil filter wrench: For removing and installing the oil filter.
- Drain pan: To collect the used engine oil.
- Funnel: For adding new oil without spills.
- Gloves: To protect your hands from dirt and grime.
- Safety glasses: To protect your eyes from debris.
- Shop rags: For cleaning up spills and messes.
- Service manual: A specific manual for your car model, providing detailed instructions and specifications.
Step-by-Step Guide to Diesel Car Servicing
With your tools ready and workspace prepared, you can proceed with the following diesel car service tasks:
1. Changing the Engine Oil and Filter
- Preparation: Warm up the engine slightly to help the oil flow more easily. Park your car on a level surface and engage the parking brake.
- Draining the oil: Position the drain pan under the engine oil pan and carefully loosen the drain plug with a socket wrench, allowing the oil to drain completely.
- Replacing the oil filter: Using the oil filter wrench, unscrew the old oil filter and install the new one, ensuring the gasket is properly seated.
- Refilling with new oil: Once the oil has finished draining, replace the drain plug and tighten it securely. Remove the oil filler cap and pour in the recommended amount and type of diesel engine oil specified in your car manual.
- Checking the oil level: Start the engine and let it run for a minute, then turn it off and check the oil level on the dipstick. Add more oil if needed to reach the appropriate level.
2. Replacing the Air Filter
- Locating the air filter housing: The air filter housing is typically located on the side or top of the engine and secured with clips or screws.
- Removing the old air filter: Open the air filter housing, remove the old air filter, and note the direction of airflow for correct installation of the new filter.
- Installing the new air filter: Insert the new air filter, ensuring it sits properly within the housing. Close and secure the air filter housing.
3. Checking and Topping Up Fluids
- Coolant: Locate the coolant reservoir and check the coolant level, ensuring it falls within the minimum and maximum markings. If needed, top up with the recommended coolant type.
- Brake fluid: Locate the brake fluid reservoir and check the fluid level. If it’s low, add the appropriate brake fluid specified in your car manual.
- Power steering fluid: Check the power steering fluid level in its reservoir and top up if necessary using the recommended fluid.
- Windshield washer fluid: Fill the windshield washer fluid reservoir with a suitable washer fluid mixture.
4. Inspecting the Belts and Hoses
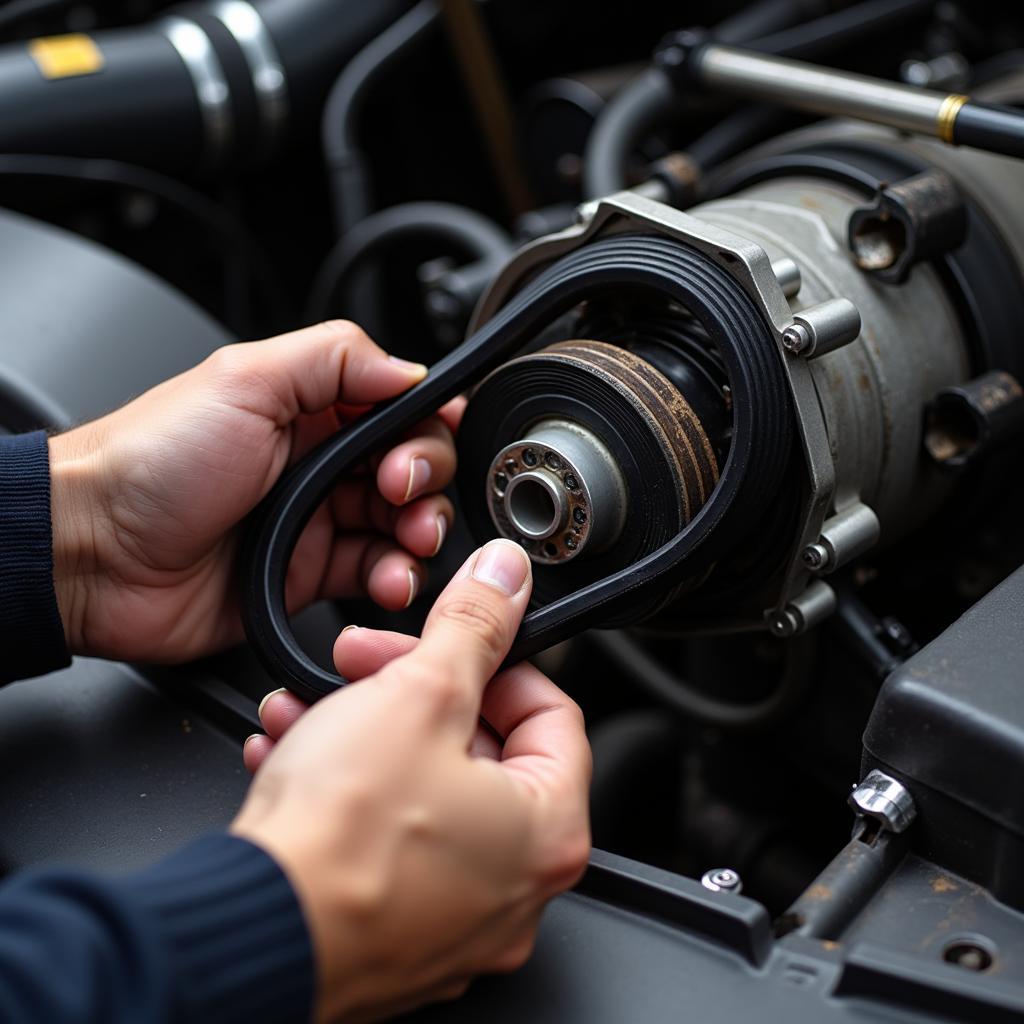
- Visual inspection: Carefully examine all belts and hoses for signs of wear and tear, such as cracks, fraying, or bulging.
- Checking tension: Gently press on the belts to check their tension. They should deflect only slightly.
- Replacing worn components: If you notice any significant wear or damage, it’s best to replace the affected belts or hoses promptly.
 Checking diesel engine belts and hoses
5. Inspecting the Battery
- Checking the terminals: Inspect the battery terminals for any corrosion buildup. If present, clean them with a wire brush and a baking soda and water solution.
- Checking the voltage: Use a multimeter to check the battery’s voltage. A fully charged battery should read around 12.6 volts.
6. Checking Tire Pressure and Tread Depth
- Using a tire pressure gauge: Measure the tire pressure of each tire, including the spare, and compare it to the recommended pressure found in your car manual or on the driver’s side doorjamb.
- Inflating or deflating tires: Adjust the tire pressure as needed using an air compressor or by releasing air at the valve stem.
- Inspecting tire tread depth: Check the tread depth using a tread depth gauge or by inserting a penny into the grooves. If the tread is worn down to 2/32 of an inch or less, it’s time to replace the tires.
Conclusion
Servicing your diesel car yourself can be a rewarding experience, saving you money and giving you a better understanding of your vehicle. By following this guide and adhering to safety precautions, you can confidently tackle these essential service tasks and keep your diesel car running smoothly for miles to come.
Do you want to learn more about maintaining your car yourself? Check out our other informative articles:
Remember, while DIY servicing can be beneficial, it’s crucial to consult your car’s service manual and seek professional help for complex repairs or if you encounter any uncertainties during the process.

