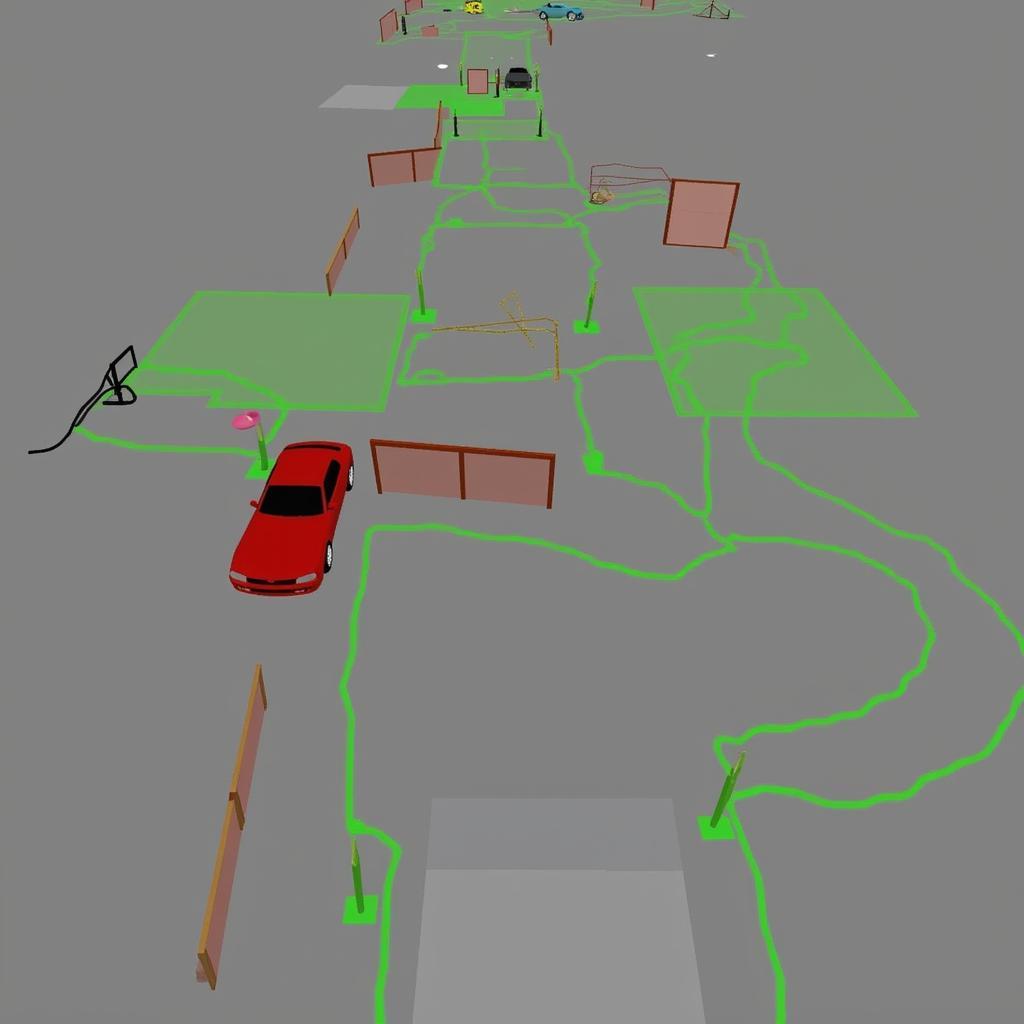
Creating a realistic driving experience in Roblox often involves more than just basic movement scripts. To truly bring your vehicles to life, you need them to navigate intelligently through your game world. That’s where Roblox’s Pathfinding Service comes into play. This powerful tool allows you to programmatically guide your cars along the most efficient route, just like a GPS system in the real world.
Understanding Pathfinding in Roblox
Pathfinding, in simple terms, is the process of finding the shortest and most efficient path between two points. In the context of Roblox game development, the Pathfinding Service acts as a virtual GPS, allowing you to plot routes for your cars to follow. This opens up a world of possibilities, from creating AI-controlled vehicles to building intricate racing games.
Implementing Pathfinding for Your Car
Now that you understand the basics, let’s dive into the practical steps involved in making your car use the Pathfinding Service in Roblox.
1. Setting the Stage: Preparing Your Game World
Before you can start plotting routes, you need to ensure your game environment is set up correctly. This involves defining “walkable” areas for your car. In Roblox Studio, you can use the ‘Navigation Mesh’ to mark the surfaces your car can drive on. Think of it as painting the roads within your game.
2. Scripting the Path: Bringing Your Car to Life
Once your game world is prepped, it’s time to write the code that will make your car pathfind.
Here’s a basic Lua script to get you started:
local PathfindingService = game:GetService("PathfindingService")

-- Define start and end points
local startPosition = car.PrimaryPart.Position
local endPosition = destinationPart.Position

-- Create a new path object
local path = PathfindingService:CreatePath()

-- Compute the path
path:ComputeAsync(startPosition, endPosition)

-- Check if path is found
if path.Status == Enum.PathStatus.Success then
   local waypoints = path:GetWaypoints()
   -- Move the car along waypoints
end
Explanation:
-
Line 1: This line retrieves the Pathfinding Service from Roblox, making its functionality accessible in your script.
-
Lines 3-4: Here, you define the starting point (likely your car’s current position) and the desired destination.
-
Line 6: This creates a new ‘path’ object, which will store the calculated route.
-
Line 8: This line instructs the Pathfinding Service to calculate the path from your starting point to the destination.
-
Lines 10-13: This conditional statement checks if a valid path was found. If so, it retrieves the individual waypoints and allows you to programmatically move your car along these points.
3. Movement and Refinement
While the above script lays the groundwork, you’ll need to add code to actually move your car smoothly between the waypoints. You can achieve this using Roblox’s built-in physics engine or by implementing custom movement logic. Additionally, you can refine the pathfinding behavior by adjusting parameters like the agent’s radius (to simulate different car sizes) and exploring advanced pathfinding modifications.
Tips for Effective Pathfinding
-
Optimize Your Navigation Mesh: A well-structured navigation mesh can significantly impact the performance of your pathfinding system. Ensure it accurately represents the drivable areas in your game.
-
Waypoint Management: Instead of blindly following every waypoint, consider using techniques like ‘waypoint skipping’ to optimize movement, especially for cars traveling at higher speeds.
-
Dynamic Obstacles: For a more dynamic experience, explore ways to update the navigation mesh in real-time to account for moving obstacles, adding another layer of realism to your game.
Conclusion
Integrating the Pathfinding Service into your Roblox car game can greatly enhance the gameplay experience. By mastering this tool, you can create intelligent vehicles capable of navigating complex environments, ultimately leading to a more immersive and enjoyable game for your players.
Frequently Asked Questions
1. Can I use the Pathfinding Service for other objects besides cars?
Yes, the Pathfinding Service is versatile and can be used for any object you want to navigate through your game world.
2. Is there a limit to the number of waypoints I can have in a path?
While there isn’t a strict limit, it’s generally good practice to optimize your paths and avoid excessively long waypoint lists for performance reasons.
3. Can I make my car avoid specific areas in the game?
Yes, you can modify the navigation mesh to mark certain areas as “unwalkable,” forcing the Pathfinding Service to calculate routes around them.
4. Are there any resources for learning more advanced pathfinding techniques?
Absolutely! The Roblox Developer Forum and other online communities are excellent resources for finding tutorials and discussing advanced pathfinding implementations.
5. Can I integrate pathfinding with other Roblox services, like the AI system?
Yes, combining the Pathfinding Service with other Roblox services opens up a world of possibilities for creating sophisticated AI behaviors and dynamic gameplay mechanics.
Need help with your Roblox project? Our team of experts is here to assist! Contact us via WhatsApp at +1(641)206-8880 or email us at [email protected] for 24/7 support.


