How to Do a Car Service at Home
Maintaining your vehicle’s health doesn’t always require a trip to the mechanic. A “car service” can encompass a range of tasks, many of which are achievable at home, even for those with minimal mechanical experience. While complex repairs are best left to professionals, conducting regular, basic car service at home can save you money and extend the lifespan of your vehicle.
This guide walks you through the essentials of DIY car service, arming you with the knowledge and confidence to tackle routine maintenance tasks. Remember, safety is paramount. Before you begin, ensure you have a clean, well-lit workspace, the correct tools, and appropriate safety gear.
Essential Car Service Tasks You Can Do at Home
Several routine car service tasks can be performed right in your driveway, keeping your car running smoothly between professional check-ups:
1. Changing the Engine Oil and Filter
Regular oil changes are the cornerstone of car maintenance. Oil lubricates engine components, reduces friction, and prevents overheating.
Here’s a step-by-step guide:
- Gather your supplies: Fresh engine oil (check your owner’s manual for the correct type and amount), a new oil filter, a wrench that fits your oil drain plug, a funnel, a container to collect the used oil, and gloves.
- Prepare your vehicle: Warm up the engine for a few minutes. Then, park on a level surface and engage the parking brake.
- Locate the oil drain plug: Consult your owner’s manual for its location. Place the container under the drain plug.
- Drain the oil: Carefully loosen and remove the drain plug, allowing the oil to flow into the container. Remember – the oil will be hot!
- Replace the drain plug: Once the oil is completely drained, reinstall the drain plug and tighten it securely.
- Locate and remove the old oil filter: This is usually located on the side of the engine. Use an oil filter wrench if necessary. Have a rag handy, as some oil will likely spill out.
- Prepare the new oil filter: Lubricate the gasket of the new filter with a small amount of fresh oil.
- Install the new oil filter: Screw the new filter in by hand until it’s snug. Avoid over-tightening.
- Add new oil: Locate the oil filler cap under the hood and pour in the correct amount of fresh oil using the funnel. Don’t overfill.
- Check the oil level: Start the engine and let it run for a minute. Turn off the engine and wait a few minutes for the oil to settle. Then, check the oil level on the dipstick. Add more oil if needed.
- Dispose of the used oil properly: Take it to a local auto parts store or recycling center that accepts used oil.
2. Replacing the Air Filter
 New vs. Old Air Filter
The air filter ensures clean air reaches your engine, promoting efficient combustion.
Here’s how to replace it:
- Locate the air filter housing: It’s usually a black rectangular box near the engine.
- Open the housing: Release the clips or loosen the screws holding the housing together.
- Remove the old air filter: Note its positioning for installing the new one.
- Insert the new air filter: Ensure it’s correctly seated and positioned the same way as the old one.
- Close and secure the housing: Fasten the clips or screws.
3. Inspecting and Topping Up Fluids
Your car relies on various fluids to function correctly. Regularly check these fluids and top them up as needed.
- Coolant: This prevents the engine from overheating. Check the level in the coolant reservoir when the engine is cold.
- Brake fluid: Crucial for your braking system. Check the fluid level in the master cylinder reservoir.
- Power steering fluid: Ensures smooth steering. Locate the power steering fluid reservoir and check the level.
- Windshield washer fluid: Keeps your windshield clean. Locate the washer fluid reservoir and fill it with an appropriate washer fluid solution.
Always refer to your owner’s manual for the location of these reservoirs and the type of fluids your car requires.
4. Checking Tire Pressure and Tread Depth
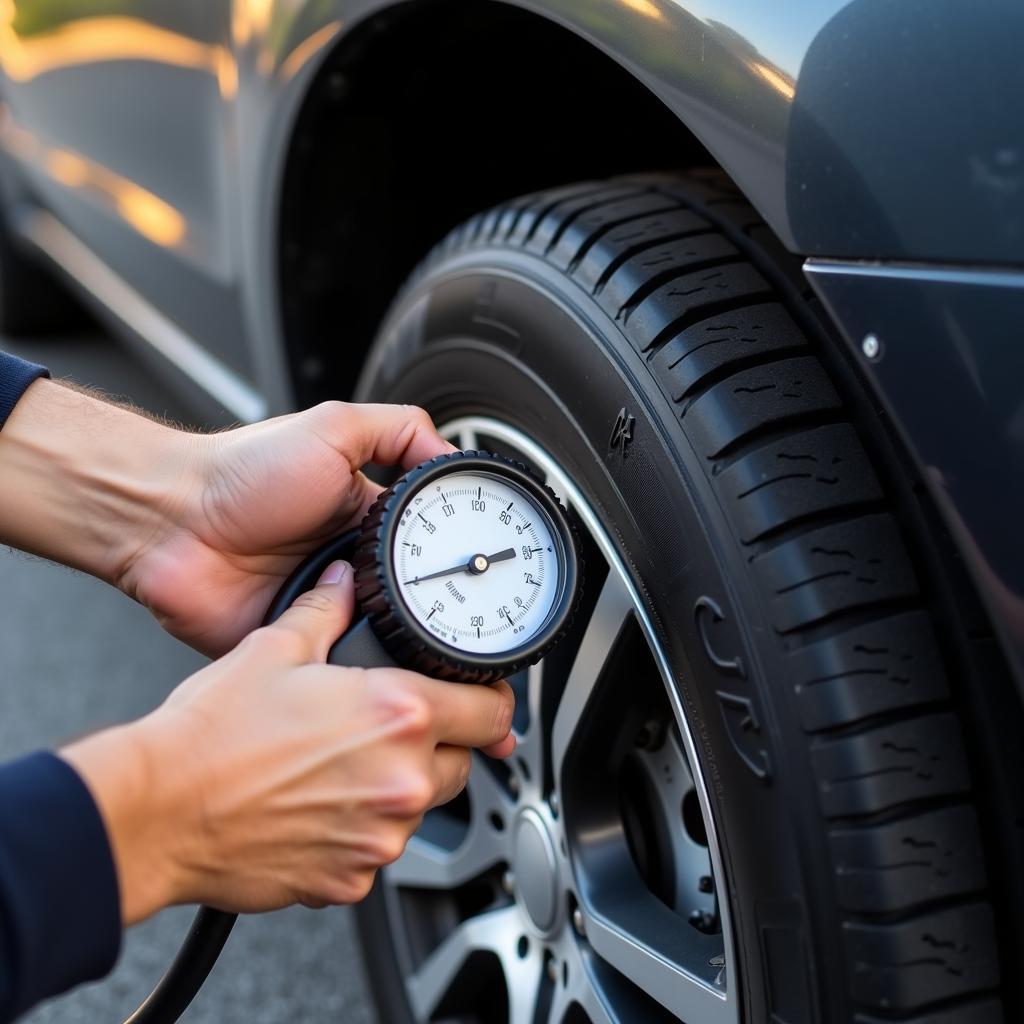
 Checking Car Tire Pressure
Proper tire pressure is crucial for safety, fuel efficiency, and tire longevity.
Here’s how to check it:
- Find the recommended tire pressure: This is usually located on a sticker inside the driver’s side door jamb or in your owner’s manual.
- Use a tire pressure gauge: Remove the valve cap from a tire and press the gauge firmly onto the valve stem. The gauge will display the tire pressure reading.
- Compare the reading to the recommended pressure: Inflate or deflate the tire as needed using an air compressor or by releasing air from the valve stem.
- Repeat for all tires, including the spare.
Checking tire tread depth:
- Use a tread depth gauge or a penny: Insert the penny into the tread groove with Lincoln’s head facing down. If you can see all of Lincoln’s head, it’s time to replace the tire.
- Repeat this check on all tires in multiple locations around the circumference.
When to Seek Professional Car Service
While DIY car service is a great way to save money and learn about your vehicle, some tasks are best left to professionals:
- Complex repairs: Anything requiring specialized tools or in-depth mechanical knowledge.
- Issues with critical safety systems: Brakes, airbags, steering, and suspension.
- Warning lights on your dashboard: These often indicate a more serious issue.
- Regular scheduled maintenance: Refer to your owner’s manual for recommended service intervals.
Conclusion
Performing regular car service at home is a rewarding way to keep your vehicle in top condition while saving money. By following this guide and taking a proactive approach to maintenance, you can enjoy peace of mind knowing your car is well-cared for.
Remember, always consult your owner’s manual for specific instructions and recommendations for your make and model. If you encounter any issues or feel uncertain about a repair, it’s always best to err on the side of caution and consult a qualified mechanic.

